
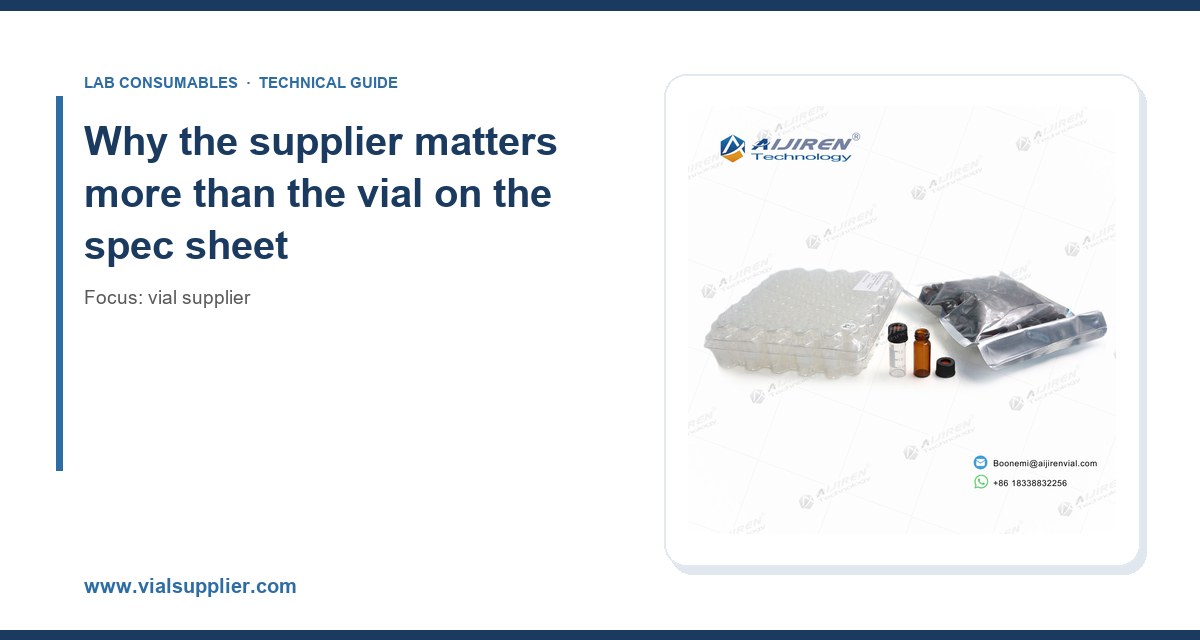
I have spent the last fifteen years buying, storing, and burning through vials. I have opened cases of 2 mL autosampler vials that looked perfect until the first run, when the septa split and the needle buried itself in the neck. I have watched a supplier swap resin lots and quietly change the crimp dimension by 0.3 mm, which was enough to make our decapper jam on a Friday afternoon. Choosing a vial supplier is not a purchasing formality. It is a decision that touches your data quality, your instrument uptime, and your lab’s safety record. This guide is what I wish someone had handed me back when I was ordering by catalog number and hoping for the best.
A 2 mL clear glass vial is a commodity. The supply chain behind it is not. The same catalog number can arrive from three different plants, molded on different machines, with different annealing profiles and different septa lots. The dimensional tolerances that matter to an autosampler are tight: neck OD, crimp bead position, and the depth from the top of the cap to the seat. Get those wrong by a few tenths of a millimeter and your robotic gripper starts dropping vials or your needle starts coring the septum.
I judge a supplier on four things, in this order: dimensional consistency across lots, septa material control, documentation, and replacement behavior when something goes wrong. Price comes fifth. A vial that costs $0.08 less and fails one run in five hundred costs you far more than the savings once you factor in re-injection, instrument downtime, and the analyst’s afternoon.
The core selection criteria, with numbers
Glass: USP Type I versus Type III
For HPLC and GC autosamplers, insist on USP Type I borosilicate glass (also called neutral glass, with a hydrolytic resistance per USP <661> that keeps leachables low). Type I is what you want for trace analysis, pH-sensitive analytes, and anything going near LC-MS. Type III soda-lime glass is acceptable for general wet chemistry and short holding times, but I have seen it drive pH drift in unbuffered mobile phases over 24 hours in an autosampler tray. If your method has a hold time longer than a shift, pay for Type I.
Ask the supplier for the hydrolytic resistance class and the coefficient of expansion. Type I borosilicate sits around 3.3 × 10⁻⁶ /K. If they cannot produce that number on request, that tells you something about the rest of their quality system.
Dimensions that actually matter
The industry-standard 2 mL autosampler vial is nominally 12 × 32 mm with an 11 mm crimp or screw neck. The GPI thread finish for screw-top versions is 8-425 for the small 2 mL format and 13-425 for the wider 4 mL and 15 mL formats. Those GPI numbers are not decoration; they define the thread pitch and the cap engagement, and a supplier that cannot quote them is reselling without knowing the product.
Here is a working checklist I use when qualifying a new supplier’s 2 mL screw-top line. These are the numbers I verify with calipers on a sample of at least 30 vials from the first case:
- Body OD: 12.00 mm ± 0.20 mm. Outside that, tray fit and gripper reliability suffer.
- Height: 32.00 mm ± 0.30 mm. Taller vials ride high and the needle may not reach the sample; shorter ones sit low and the needle bottoms out.
- Neck ID: 6.0 mm nominal for 8-425. Too narrow and the needle scrapes glass; too wide and the septum seal is unreliable.
- Wall thickness: 1.0 mm ± 0.1 mm. Thin walls crack under crimping and centrifuge stress.
- Bottom concentricity: flat within 0.15 mm. A wobbling base throws off autosampler needle height.
For crimp vials, add the crimp bead diameter and the distance from the bead to the top lip. If your decapper torque is set for one supplier and you switch, re-qualify the crimper. I have lost a full tray of samples to a 0.2 mm crimp bead shift.
Septa: the part everyone underestimates
The septum is where most failures live. The two common materials are silicone (excellent reseal, poor chemical resistance to nonpolar solvents) and PTFE-faced silicone (PTFE on the sample side, silicone behind it for reseal). For HPLC with acetonitrile or methanol, PTFE-faced is the default. For GC headspace and anything with chlorinated solvents, you want a bonded PTFE/silicone or a pure PTFE-faced construction with a controlled durometer.
Puncture count is the number I hold suppliers to. A good 11 mm PTFE/silicone septum holds 3 to 5 punctures before coring becomes visible under a loupe. Cheap septa fail at 2. If your autosampler uses a sharp 22-gauge needle and you run 96-well plates, ask for the puncture count on the certificate. If you are running a lab chromatography workflow with repeated injections from the same vial, this number is the difference between clean data and a needle clog.
Temperature rating matters too. Standard silicone septa are rated to about 200 °C continuous. Headspace septa with a PTFE face and a molded silicone backing hold 250 °C for short cycles. If your GC oven method goes to 280 °C, you need a septum rated for it or you will see bleed peaks in every blank.
Caps, closures, and torque
Screw caps should be polypropylene with a controlled thread and a molded-in septa seat. Crimp caps are aluminum, and the seal depends entirely on the crimper. Here are the torque and crimp numbers I run in my own lab:
- Screw caps (8-425): hand-tight plus a quarter turn, or 0.6 to 0.9 N·m with a torque wrench. Over-torque deforms the septum and causes coring.
- Crimp caps (11 mm): crimper set to 0.9 to 1.1 N·m equivalent, with the cap seated flush against the bead. A properly crimped cap rotates freely but does not lift.
- Seal integrity check: invert the capped vial in a beaker of water and pull a light vacuum. Any bubble stream means a bad seal.
Ask your supplier whether their caps and vials are qualified as a matched set. A cap from supplier A on a vial from supplier B is a coin flip on seal integrity, and I have the failed leak tests to prove it.
Documents to demand before the first purchase order
A serious supplier will hand these over without a fight. A reseller will stall.
- Certificate of analysis (CoA) per lot, with dimensional data and glass hydrolytic class.
- Certificate of conformance (CoC) tying the lot to the purchase order.
- Material safety data sheets for glass, septa, and caps. Glass dust is a real hazard in handling and disposal.
- Extractable and leachable data for LC-MS-grade vials. Look for low background at the analyte mass range you care about.
- ISO 9001 certification for the manufacturing site, not just the distributor.
- Change control policy in writing. If they change resin, glass source, or molding line, they notify you before shipment.
That last one is the one that separates the adults from the children. I once had a supplier switch septum vendors without notice, and our headspace method developed a ghost peak at m/z 73 that took two weeks to trace. A written change control clause would have saved that.
Matching the vial to the workflow
HPLC and UHPLC autosamplers
Use 2 mL clear Type I glass, 12 × 32 mm, 8-425 screw top with PTFE/silicone septa. For UHPLC with low injection volumes, choose a vial with a conical or pulled-point interior so the needle reaches the last 50 µL. For gradient methods, pre-rinse vials with your mobile phase and dry them; manufacturing residues can show up as baseline drift. Pair the vial with a properly rated HPLC filter on the inlet side so particulate does not reach the column, and use a PTFE membrane filter for solvent degassing and sample prep where chemical compatibility demands it.
GC and headspace
Use 10 mL or 20 mL headspace vials with 20 mm crimp caps and PTFE-faced butyl or silicone septa, rated to 250 °C. Crimp torque on 20 mm caps is higher than the 11 mm format, typically 1.5 to 2.0 N·m. Under-crimping causes leaks in the headspace loop; over-crimping cracks the neck. Buy a torque tester and use it. If you are running environmental methods, cross-check your vial and septum choices against the U.S. EPA SW-846 test methods, which specify holding times and container requirements that your supplier should be able to support.
LC-MS and trace analysis
This is where vial quality shows. Demand LC-MS grade vials with documented low extractables, and ask for the background scan. A good supplier will show you a full-scan blank at the sensitivity of your instrument. If they cannot, walk. For method development, I keep a reference set of vials from Agilent chromatography consumables and columns and from Thermo Fisher chromatography and sample handling on the shelf so I can compare a new supplier’s blank against a known-good baseline.
Comparison checklist: supplier A versus supplier B
Here is the scorecard I actually use. Score each line 1 to 5 and require a minimum of 3 on every line before you place a volume order. The numbers in the “target” column are what I consider acceptable for a production lab.
- Dimensional consistency (30-vial sample): target ±0.20 mm OD, ±0.30 mm height. Score 5 if all pass, 1 if more than 2 fail.
- Septum puncture count: target 3 to 5 before visible coring. Score 1 if under 2.
- Seal integrity (vacuum test on 10 vials): target zero bubble streams. Any failure is a 1.
- LC-MS blank background: target no peaks above the instrument’s baseline noise in your analyte mass range. Score 1 if ghost peaks appear.
- CoA and CoC on every lot: target 100%. Score 1 if missing on any lot.
- Change control notification: target written policy with 30-day notice. Score 1 if none.
- Lead time: target under 10 business days for standard stock. Score 1 if over 30.
- Replacement on failure: target no-questions replacement within 5 business days. Score 1 if they argue.
- Price per vial (2 mL screw top): typical range $0.10 to $0.35 depending on grade. A low score here is fine if the other lines pass.
I have walked away from suppliers that scored 5 on price and 1 on change control. I have also paid a 40% premium for a supplier that scored 4 or better across the board, and it paid for itself in the first quarter.
Operational precautions once the vials arrive
Good vials in bad hands still fail. A few rules I enforce in my own lab:
- Store vials sealed and upright in a clean, dry area away from solvent vapors. Cardboard boxes absorb moisture and solvent; keep them off the bench during runs.
- Do not pre-cap vials days ahead of use unless you have validated the hold time. Septa relax and lose seal.
- Rinse new vials with mobile phase for trace work, then dry under nitrogen. Manufacturing residues are real.
- Calibrate your crimper every 500 caps or every shift, whichever comes first. Log the torque value.
- Inspect septa under a loupe after puncture if you re-inject from the same vial. Coring shows up as a small flap or a plug.
- Rotate stock FIFO and check lot numbers against the CoA. Old septa harden and lose reseal performance.
- Do not autoclave septa unless the supplier has validated it. Most silicone septa deform at 121 °C.
For a full supply chain view, the Vial Supplier catalog is a reasonable starting point when you are comparing formats and grades side by side, but treat any catalog as a starting point, not a qualification.
Troubleshooting checklist: when the vial is the suspect
When a run goes sideways, work through this list before you blame the column or the instrument. Nine times out of ten, the vial or septum is in the chain.
- Ghost peaks in the blank: suspect septum bleed or manufacturing residue. Run a blank with a known-good vial from a different lot. If the peak disappears, it is the vial.
- Needle coring and clogged injector: suspect septum durometer or puncture count. Check the septum under a loupe; if you see a plug, switch septa lots and check needle gauge.
- Low injection volume or erratic peak area: suspect seal failure or vial height. Weigh a capped vial before and after a 24-hour hold; a weight loss over 2 mg means a leak.
- Gripper drops vials: suspect body OD out of tolerance. Measure 30 vials with calipers.
- pH drift in unbuffered mobile phase: suspect Type III glass. Switch to Type I and re-run.
- Crimp caps lifting after decapping: suspect crimp torque out of range or bead dimension shift. Re-qualify the crimper against the new lot.
- Carryover between injections: suspect septum adsorption or insufficient rinse volume. Increase rinse and switch to a lower-adsorption septum grade.
For method-specific troubleshooting, the technical resources at Restek technical resources for chromatography are worth bookmarking. They publish practical notes on septa bleed and vial selection that align with what I see on the bench.
Recommendation
For most production labs running HPLC or GC autosamplers, here is the specification I would put on a purchase order tomorrow:
- Vial: 2 mL clear USP Type I borosilicate, 12 × 32 mm, 8-425 screw top, conical interior, dimensional tolerance ±0.20 mm OD and ±0.30 mm height.
- Septum: 11 mm PTFE-faced silicone, bonded, rated to 200 °C, minimum 3 punctures before coring.
- Cap: polypropylene, matched to the vial lot, torque 0.6 to 0.9 N·m.
- Documentation: CoA and CoC per lot, ISO 9001 site certification, written 30-day change control notice.
- Qualification: 30-vial dimensional sample, 10-vial vacuum seal test, LC-MS blank scan, all passing before volume order.
- Backup supplier: qualified and kept warm with quarterly small orders. Never single-source a consumable this central to your data.
For headspace work, swap to 20 mm crimp, PTFE-faced butyl or silicone septa rated to 250 °C, and crimp torque of 1.5 to 2.0 N·m. For LC-MS, add the low-extractables grade and the blank scan to the qualification.
The supplier you choose is a long-term operational partner, not a line item. Qualify them with numbers, hold them to written change control, and keep a second source qualified. Do that, and the vial stops being the reason your run failed.
References & further reading
Related resources from our lab consumables network:
- Vial Supplier at vialsupplier.com
- Lab Chromatography at labchromatography.com
- Hplc Filter at hplcfilters.com
- Ptfe Membrane Filter at ptfemembranefilter.com
External references and standards: