
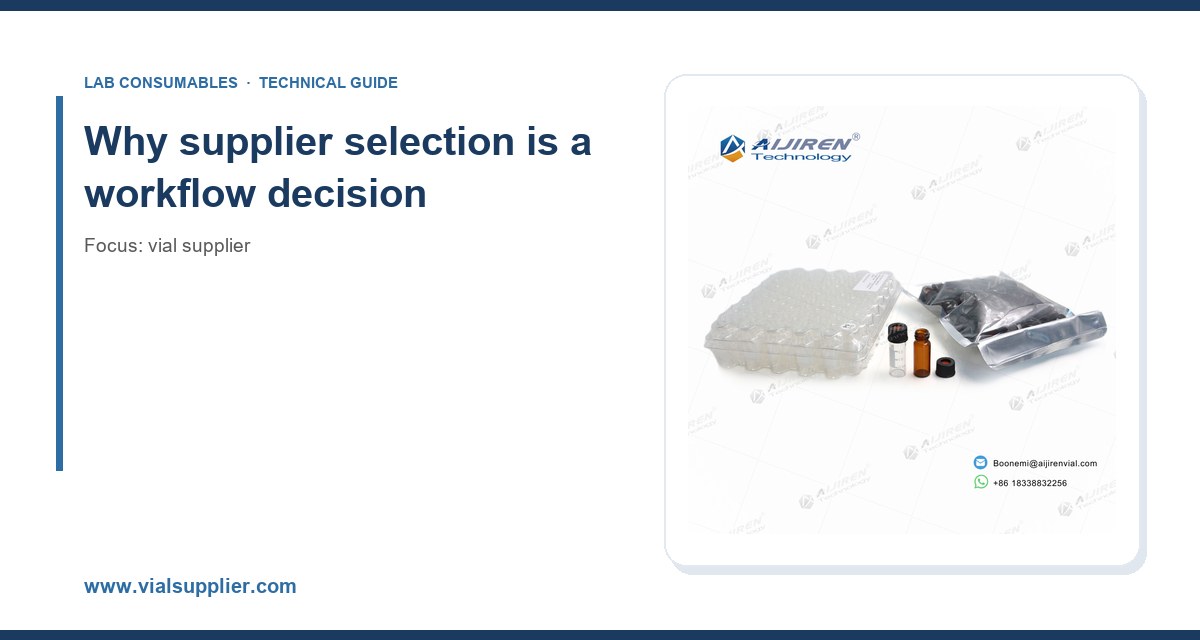
I have watched a 2 mL autosampler vial ruin a $40,000 sequence. The vial was fine. The crimp was wrong. The aluminum seal sat at about 30 degrees off-axis, the septum puckered on one side, and the needle coring produced a sliver of silicone that plugged the column frit at injection 47. We lost the run, the column, and half a day. That experience shaped how I evaluate every vial supplier I have worked with since, and it is the reason this guide focuses on supplier selection as an operational decision rather than a purchasing formality.
A vial is a commodity until it touches your instrument. Then it becomes a tolerance stack: glass dimensions, neck geometry, septum durometer, seal hardness, and the crimper or cap torque that ties them together. Get any one wrong and the failure shows up downstream as a bent needle, a split peak, or a mystery ghost peak at 12.4 minutes. The supplier you choose determines how much of that tolerance stack you can actually control. Here is how I screen suppliers, what I ask for before the first order, and where the numbers matter.
Buyers often treat vials as a line item with a price per thousand. Operators treat them as the first stage of the analytical method. Those two views collide when a supplier swaps glass sources or changes a septum compound without telling anyone. I have seen a supplier move from a molded borosilicate neck to a drawn neck to cut cost, and the change shipped silently. The vials looked identical in the box. They failed the autosampler gripper on about one in forty vials because the neck OD ran 0.15 mm over nominal.
The lesson: your supplier is part of your method. A vial supplier that publishes dimensional tolerances, controls glass lot traceability, and can tell you which septum compound is in the bag is worth a premium of 15 to 25 percent over the cheapest quote. A supplier that cannot answer basic questions about neck ID or septum durometer is a liability you will pay for in instrument downtime. If you are building out a full consumables program, the same logic applies to your lab chromatography supply chain, where vials, filters, and columns need to be qualified as a system, not bought piecemeal.
The vial specification stack
Before you can judge a supplier, you need to know what you are specifying. Most vial failures trace back to one of five parameters. I walk through each with the numbers I use in qualification.
Glass dimensions and tolerances
For a standard 2 mL autosampler vial, the critical dimensions are the body OD (**12 mm** nominal, typically held to ±0.2 mm), the height (**32 mm** for crimp-top, **32 mm** for screw-top with the cap seated), and the neck geometry. The neck ID and the neck OD are where autosamplers live or die. Agilent and Waters grippers are unforgiving. A neck OD that runs more than **0.1 mm** over nominal will jam in some gripper designs. Neck ID that runs under nominal will bind the needle during aspiration.
Ask the supplier for a dimensional control chart, not a certificate of analysis with a single pass/fail line. I want to see the last six months of neck OD data and the standard deviation. If a supplier cannot produce that, they are not controlling the process; they are inspecting the output. USP <661> covers glass chemical resistance classifications, and you should confirm the supplier can state whether the glass is Type I borosilicate or Type III soda-lime. For HPLC work with pH above 7 or below 4, insist on Type I. Soda-lime vials leach alkali and will drive pH drift in unbuffered mobile phases.
Septum compound and durometer
The septum is the most under-specified component in the entire vial. Suppliers quote “silicone” or “PTFE/silicone” and leave it there. That is not enough. I specify three things: the facing material, the core durometer, and the puncture history.
- PTFE-faced silicone is the default for HPLC. The PTFE face (typically **0.05 to 0.13 mm** thick) protects the sample from the silicone core and resists most solvents. The silicone core provides reseal. For GC headspace, use a lower-bleed silicone or a butyl core depending on the analyte.
- Durometer matters. A **45 Shore A** silicone is soft and reseals well but cores easily at high puncture counts. A **55 Shore A** silicone resists coring but needs more needle force and can leak on a poorly crimped seal. I default to **50 Shore A** for autosampler work.
- Puncture count is where suppliers get vague. A good PTFE/silicone septum holds reseal integrity for **3 to 5 punctures** in a 24-hour run. Beyond that, coring risk climbs and you get the sliver-in-the-frit failure I described earlier. If your method reinjects the same vial more than five times, specify a pre-slit septum or move to a vial with a larger septum diameter.
Ask for the septum compound’s extractables profile. A supplier who can hand you a GC-MS scan of the septum bleed at 250 °C is a supplier who understands what the septum does to your baseline. The Restek technical resources library has good reference data on septum bleed and inlet maintenance intervals that I use when qualifying a new compound.
Cap, seal, and closure system
Crimp-top, screw-top, and snap-top are not interchangeable. Each has a torque or crimp spec, and each fails differently.
Crimp-top (11 mm) uses an aluminum seal compressed by a crimper. The crimper needs periodic adjustment; I check mine every 500 seals with a go/no-go gauge. A properly crimped 11 mm seal has a skirt diameter of **11.0 to 11.2 mm** and sits flat against the vial shoulder. An over-crimped seal puckers the septum. An under-crimped seal leaks and lets the needle pull the septum into the vial. Both show up as peak area RSD climbing above **2 percent** on a 6-injection precision check.
Screw-top (9 mm or 10-425) uses a threaded cap. The GPI 9 mm and GPI 10-425 thread standards define the neck finish. Torque spec for a 9 mm screw cap is typically **0.4 to 0.6 N·m**; for a 10-425 it runs **0.6 to 0.9 N·m**. Over-torque crushes the septum and causes coring; under-torque leaks. I keep a calibrated torque screwdriver at the bench and check five caps per lot. If a supplier’s caps vary in thread pitch or the liner thickness drifts, your torque spec is meaningless.
Snap-top is convenient but has the loosest dimensional control. I only use snap caps for non-critical sample storage, never for autosampler sequences where injection reproducibility matters.
Volume, geometry, and residual volume
Standard 2 mL vials hold about **1.5 mL** working volume. The residual volume (what the needle cannot reach) depends on the internal bottom geometry. A flat-bottom vial leaves **100 to 150 µL**; a conical insert or a pulled-bottom vial gets you to **20 to 30 µL**. If your method needs to recover a 50 µL sample, the vial geometry is a method parameter, not a packaging choice. Specify the insert type and confirm the needle depth setting matches. I have seen a method fail because the autosampler needle depth was set for a flat-bottom vial and the lab switched to inserts without updating the sequence.
Cleanliness and background
Vials arrive with manufacturing residue. For trace analysis (ppb-level pesticides, PFAS, ultratrace metals), you need vials certified for low background. Ask for the supplier’s cleaning validation: what solvent rinse, what bake-out temperature, what background spec. A supplier who certifies **<5 ppb** residual metals and provides a lot-specific background chromatogram is doing the work. A supplier who says “clean” without data is guessing. For PFAS work, confirm the vial and septum are PFAS-free; some PTFE grades carry residual fluorinated processing aids.
Supplier qualification checklist with numbers
This is the checklist I run before adding a vial supplier to an approved vendor list. It is deliberately numeric because “good quality” is not a purchasing criterion.
- Dimensional data: neck OD within ±0.1 mm of nominal, body OD within ±0.2 mm, height within ±0.3 mm. Request six months of control chart data.
- Glass type: Type I borosilicate declared for HPLC; USP <661> compliance statement on file.
- Septum spec: facing material, core durometer (state the Shore A value), thickness, and reseal rating (minimum 3 punctures).
- Septum extractables: GC-MS bleed scan at 250 °C, or a lot-specific background chromatogram.
- Closure spec: GPI thread standard (9 mm or 10-425), torque range in N·m, crimp skirt diameter tolerance.
- Lot traceability: glass lot, septum lot, and assembly date on the carton. If the carton has only a date code, ask what it maps to.
- Change control: written notification of any glass source, septum compound, or molding change at least 30 days before shipment.
- Certificates: CoA per lot with actual measured values, not just pass/fail.
- Lead time and MOQ: state both in writing. A supplier who quotes 2-week lead time and ships in 6 is a planning risk.
- Sample qualification: run a 6-injection precision test on your own instrument. Peak area RSD must be **≤2 percent** and retention time RSD **≤0.5 percent**. Reject the lot if either fails.
That last item is the one buyers skip and operators pay for. Never approve a supplier on a datasheet alone. Run the vials through your method.
Where vials fit in the wider consumables chain
A vial does not work alone. It sits upstream of a filter and a column, and a defect in any one shows up in the chromatogram. I qualify vials, syringe filters, and columns as a linked system. If you are running particulate-laden samples, the HPLC filter you choose determines how much particulate reaches the column, and the vial’s septum determines how much silicone reaches the inlet. A supplier who can advise on both is more useful than one who only sells glass.
For solvent-resistant filtration ahead of injection, a PTFE membrane filter handles aggressive mobile phases and does not shed the way some cellulose acetate membranes do. The point is that your vial supplier should understand the downstream train. When I evaluate a new supplier, I ask what they know about filter compatibility and column inlet frits. The good ones have an answer. The order-takers do not.
For reference methods and acceptance criteria, I lean on published sources. The U.S. EPA SW-846 test methods define sample handling and holding times that constrain your vial choice (some methods require specific headspace or preservation). Instrument vendors publish their own consumable compatibility matrices; the Agilent chromatography consumables pages and the Thermo Fisher chromatography and sample handling documentation are worth reading before you lock a spec. They tell you what the instrument expects, which is the baseline your supplier has to meet.
Operational precautions that separate good labs from lucky ones
Supplier quality gets you a good vial. Operator discipline keeps it good. These are the practices I enforce at the bench.
Crimp and torque control
Calibrate the crimper every 500 seals. Use a go/no-go gauge on the skirt diameter. For screw caps, use a torque screwdriver set to the mid-range of the spec (0.5 N·m for 9 mm, 0.75 N·m for 10-425) and check five caps per lot. Retorque is not a thing; if a cap is under-torqued, discard it and start fresh. Reusing a crimp seal is never acceptable.
Needle and septum interaction
Set needle depth so the needle bevel clears the septum cleanly and the tip sits 1 to 2 mm above the vial bottom. A needle that grazes the bottom dulls and cores the septum faster. Replace autosampler needles on a schedule, not on failure. I log puncture counts per vial position and pull vials after five punctures for reinjection-heavy methods.
Storage and handling
Store vials capped and in the original carton. An open bag of vials in a lab with solvent vapors will adsorb background. For trace work, use vials within 30 days of opening the lot and keep the carton sealed between uses. Do not store vials near a solvent cabinet.
Troubleshooting checklist
When a vial-related problem shows up, work through this list in order. It covers the failures I see most often.
- Peak area RSD above 2 percent: check crimp or torque first (seal leak), then septum coring (particulate in the needle), then vial-to-vial volume variation.
- Ghost peaks or rising baseline: septum bleed. Run a blank vial with the same septum at your inlet temperature. If the ghost peak appears, change the septum compound or lower the inlet temperature.
- Bent or dulled needle: neck ID under nominal or needle depth too deep. Measure neck ID on five vials from the lot.
- Autosampler gripper jams: neck OD over nominal. Check with a caliper against the ±0.1 mm spec.
- Sample loss or low recovery: residual volume too high for the sample size, or the needle depth does not reach the conical bottom. Confirm insert geometry against the method.
- Septum pulled into the vial: under-crimped seal or under-torqued cap. Recheck the crimper or torque driver.
- Particulate on the column frit: coring from over-punctured septa or unfiltered sample. Add a filter step and cap puncture counts at five.
- pH drift in unbuffered mobile phase: soda-lime glass leaching alkali. Switch to Type I borosilicate.
What I recommend
For most HPLC and LC-MS workflows, specify a **2 mL clear Type I borosilicate vial, 12 x 32 mm, 9 mm screw thread (GPI 9)**, with a **PTFE-faced 50 Shore A silicone septum** and a cap torqued to **0.4 to 0.6 N·m**. For GC headspace, move to a crimp-top 11 mm vial with a lower-bleed septum and a crimper checked every 500 seals. For trace and PFAS work, require lot-specific background data and a **<5 ppb** metals certification. Cap puncture counts at five and run a 6-injection precision check on every new lot; reject anything above **2 percent** peak area RSD.
Screen suppliers against the checklist above and require written change control. Pay the 15 to 25 percent premium for a supplier who publishes dimensional data and answers septum questions with numbers. That premium is cheaper than one lost sequence. If you are consolidating vendors, start with a supplier who understands the full train from vial to filter to column; Vial Supplier is a reasonable place to begin that conversation, and the qualification checklist in this guide will tell you quickly whether any supplier is worth keeping.
The short version: a vial is a tolerance stack, not a commodity. Specify the numbers, qualify the supplier on data rather than datasheets, and control the crimp or torque at the bench. Do that and the vial stops being the variable in your method.
References & further reading
Related resources from our lab consumables network:
- Vial Supplier at vialsupplier.com
- Lab Chromatography at labchromatography.com
- Hplc Filter at hplcfilters.com
- Ptfe Membrane Filter at ptfemembranefilter.com
External references and standards: