
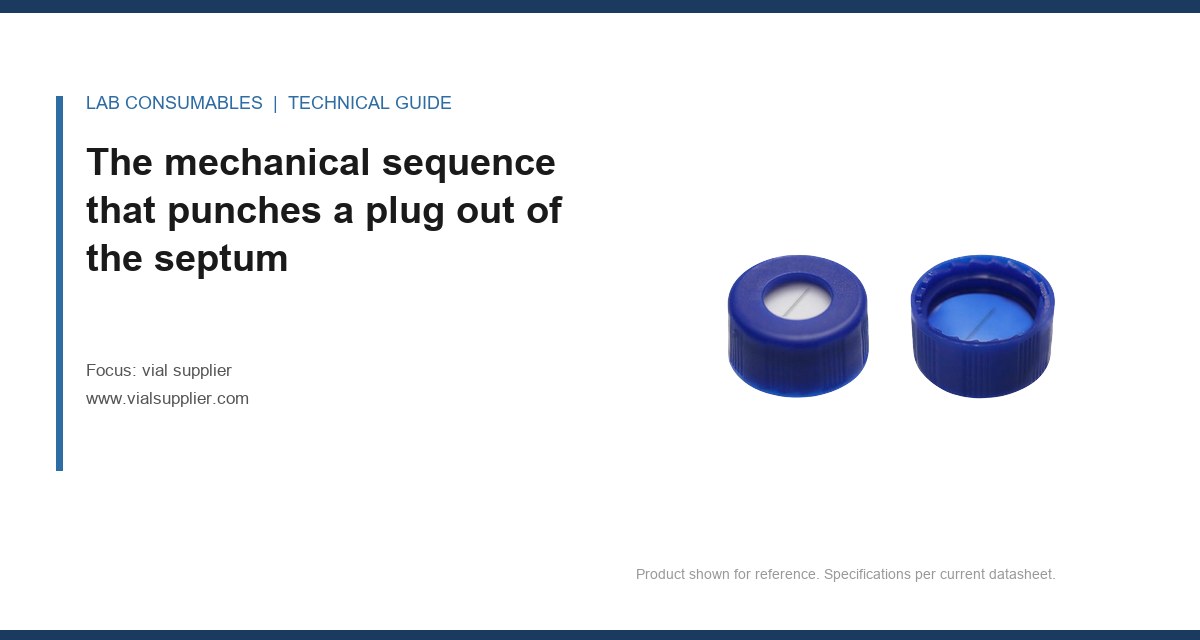
Run 47 on the Agilent 7693A autosampler failed at vial 31 of 50. The needle bent 4 degrees off axis, and the injection port liner had a crescent-shaped sliver of bromobutyl rubber lodged at the bottom. When I pulled the remaining 19 vials from that tray, 8 of them showed visible septum fragments floating in the sample. This is the signature of a vial supplier coring, fragments and needle damage diagnosis problem, and it starts long before the needle ever touches the septum.
Coring is not random. It is a predictable failure that happens when the needle tip geometry, the needle guide alignment, and the septum material interact in a specific sequence. A standard 23-gauge, 51 mm autosampler needle has a bevel angle between 12 and 17 degrees. When that bevel enters a septum, it should slice through and displace material sideways. The elastomer closes behind the needle on withdrawal. That is the design intent.
The failure starts when the needle approaches the septum off-axis. If the needle guide bushing in the autosampler tower has worn to a clearance of more than 0.15 mm, or if the vial tray is misaligned by even 0.3 mm, the needle tip strikes the septum at an angle. Instead of a clean slice, the bevel’s heel catches the top surface and starts to rotate the plug of material around the tip. On the downstroke, the needle drives that rotating plug downward. On the upstroke, the plug tears free. You now have a punched-out disc, typically 0.5 to 1.2 mm in diameter, sitting in the vial or in the needle bore.
The needle itself contributes. A needle with a burr on the inner edge of the bevel, often from a previous impact against a vial bottom or a misaligned tray, acts like a hole saw. The burr grabs the septum material and cuts a cylinder instead of a slit. I have measured burrs as small as 0.02 mm that were enough to core a 55-durometer silicone septum on every third puncture. The supplier’s role here is not just the septum. It is the dimensional consistency of the vial neck, the cap height, and the septum thickness that determines whether the needle enters at 90 degrees or at 87 degrees.
Reading the debris under a loupe: what the fragment shape tells you
Before you blame the septum lot, put the debris under a 10x loupe. The shape of the fragment is a diagnostic record of the failure. A clean, circular disc with smooth edges means the needle bevel was sharp and the entry angle was close to perpendicular, but the septum material lacked the tear strength to resist the punch. This is a material hardness problem. A ragged, crescent-shaped sliver means the needle entered off-axis and the bevel heel tore the material. This is an alignment or guide wear problem. A cylinder with a hollow center means the needle had a burr and acted as a trephine.
I keep a small reference set in the lab: three vials labeled “disc,” “crescent,” and “cylinder.” When a run fails, I match the debris to the reference. The fix is different for each. A disc points to septum durometer and thickness. A crescent points to the needle guide and tray alignment. A cylinder points to needle replacement and possibly a needle supplier change. The vial supplier you choose controls the septum geometry and the cap crimp height, which set the entry angle tolerance. But the autosampler’s guide bushing is your responsibility.
Measure the fragment. A disc larger than 1.0 mm in diameter from a 23-gauge needle means the septum is too soft or too thin for the needle gauge. A 23-gauge needle has an outer diameter of 0.64 mm. A properly functioning septum should produce a slit, not a disc. If you are seeing discs, the septum durometer is likely below 45 Shore A, or the septum is a single-layer construction without a PTFE facing. The PTFE facing on a laminated septum, typically 0.1 to 0.25 mm thick, is there to reduce friction and prevent the elastomer from grabbing the needle. If that facing is missing or delaminated, coring risk goes up sharply.
Needle and guide dimensions that cause coring: the numbers you need to check
The needle guide bushing in an autosampler tower is a wear item. Most manufacturers specify a replacement interval, but few labs track it. The bushing has an internal diameter that should be 0.1 to 0.2 mm larger than the needle outer diameter. For a 23-gauge needle at 0.64 mm OD, the bushing ID should be 0.74 to 0.84 mm. When the bushing wears to 0.9 mm or larger, the needle can wander laterally by 0.1 mm or more at the point of entry. That is enough to turn a clean slit into a crescent tear.
Check the needle itself. A bent needle is obvious, but a needle with a rolled-over bevel edge is not. Run your fingernail across the bevel heel. If it catches, the needle is done. Replace it. A needle with a burr on the inner diameter is harder to see. Use a 20x loupe and look at the bevel opening. A burr will appear as a shiny line or a slight inward curl. I have seen labs run 500 injections on a needle with a burr, and every injection cored the septum a little more. The cost of the needle is trivial compared to the cost of a failed sequence and re-extraction.
The vial neck finish matters more than most people think. A 12 x 32 mm screw-top vial has a neck inner diameter of 8.0 mm. The septum sits inside the cap, and the needle enters through the center of the septum. If the cap is not centered on the vial neck, because the vial neck finish is out of round or the cap thread is misaligned, the septum is not centered under the needle. The needle then enters near the edge of the septum, where the material is thinner and more likely to tear. I have measured cap-to-vial eccentricity of 0.4 mm on budget vials. That shifts the needle entry point off-center by 0.4 mm, and the coring rate goes from zero to one in twenty punctures.
Septum material selection: durometer, thickness, and facing
The septum is not just a plug. It is a mechanical seal that must survive a specific number of punctures at a specific needle gauge and entry speed. For a 23-gauge needle, a septum with a durometer of 50 to 55 Shore A and a thickness of 1.0 to 1.5 mm will typically survive 8 to 12 punctures without coring, provided the needle is sharp and aligned. A 45 Shore A septum of the same thickness will core on the first puncture if the needle has any burr at all. A 60 Shore A septum will resist coring but may not reseal after withdrawal, leading to evaporation loss. That loss is a sibling topic, so I will leave it there.
The PTFE facing is not optional for multiple injections from the same vial. The facing reduces the coefficient of friction between the needle and the elastomer. Without it, the needle drags elastomer into the vial on each withdrawal. With it, the needle slides through cleanly. The facing thickness should be 0.1 to 0.25 mm. Thinner than 0.1 mm, and the facing tears on the first puncture, exposing the elastomer. Thicker than 0.25 mm, and the facing itself can core, producing a white disc that looks like PTFE tape. I have seen both failures.
For GC headspace work, the septum must withstand repeated heating to 80 to 100 degrees Celsius without softening. A silicone septum rated for 200 degrees Celsius will soften at 100 degrees if it is a low-durometer formulation. Check the supplier’s temperature rating and the durometer at operating temperature, not just at room temperature. The lab chromatography workflow depends on this, because a softened septum cores more easily and releases volatiles that contaminate the headspace.
Two field cases: the measurement that identified each failure
Case 1: the crescent sliver from a worn guide bushing. A contract lab running 200 samples per day on two LC autosamplers started seeing crescent-shaped slivers in the sample vials. The slivers were 0.8 to 1.1 mm long, curved, and matched the needle bevel profile. The lab replaced the septa twice, with no change. I measured the needle guide bushing ID on both towers. Tower 1 was 0.78 mm, within spec. Tower 2 was 0.94 mm, well outside the 0.84 mm upper limit. The needle in tower 2 was wandering 0.15 mm at the entry point. We replaced the bushing on tower 2, and the crescent slivers stopped within one run. The fix cost $18 for the bushing. The lab had spent $400 on replacement septa before calling me.
Case 2: the PTFE disc from an over-thick facing. A pharmaceutical QC lab saw white discs, 0.6 to 0.8 mm in diameter, floating in their HPLC vials. The discs were PTFE, not elastomer. The septum was a laminated construction with a PTFE facing that the supplier listed as 0.3 mm thick. That is above the 0.25 mm upper limit I recommend. The facing was stiff enough to core under the needle bevel. The lab switched to a septum with a 0.15 mm PTFE facing from a different supplier, and the white discs disappeared. The key measurement was the facing thickness, not the total septum thickness. Most suppliers list total thickness, not facing thickness. You have to ask.
Supplier-side checks: what the vial supplier actually controls
The vial supplier controls three things that directly affect coring: the vial neck finish tolerance, the cap crimp or thread concentricity, and the septum material specification. If any of these is loose, the best needle and the best autosampler alignment will not save you. Ask your supplier for the neck finish drawing. A 12 x 32 mm screw-top vial should have a neck inner diameter of 8.0 mm with a tolerance of plus or minus 0.1 mm. If the supplier cannot provide that drawing, walk away.
The cap thread concentricity is harder to measure, but you can do a simple check. Take 20 vials from a lot, cap them with the supplier’s caps, and measure the runout of the cap edge relative to the vial body using a dial indicator. A runout of more than 0.2 mm means the cap is not centered on the vial neck. The septum will be off-center under the needle, and coring risk increases. I have rejected entire lots of vials on this measurement alone.
The septum material specification should include durometer, thickness, facing thickness, and temperature rating. If the supplier lists only “PTFE/silicone septum,” that is not a specification. Ask for the Shore A durometer at 25 degrees Celsius and at the operating temperature, the total thickness, the facing thickness, and the puncture count rating at a specific needle gauge. A reputable supplier will provide all of these. The HPLC filter side of the industry learned this lesson years ago. The vial side is still catching up.
Troubleshooting checklist: isolate the cause in 30 minutes
When you see fragments in vials or a bent needle, work through this checklist in order. Do not skip to septum replacement until you have ruled out the mechanical causes.
- Measure the needle guide bushing ID. For a 23-gauge needle, the ID must be 0.74 to 0.84 mm. Above 0.9 mm, replace the bushing.
- Inspect the needle bevel under 20x magnification. Look for a burr on the inner edge or a rolled-over heel. Replace if either is present.
- Check the needle straightness. Roll the needle on a flat surface. A bend of more than 0.5 degrees at the tip is enough to cause off-axis entry.
- Examine the debris shape. Disc means material problem. Crescent means alignment problem. Cylinder means burred needle.
- Measure the septum facing thickness. It should be 0.1 to 0.25 mm. Outside that range, change suppliers.
- Check cap runout on 20 vials. More than 0.2 mm runout means the cap is not concentric. Reject the lot.
- Verify the septum durometer. For 23-gauge needles, 50 to 55 Shore A is the sweet spot. Below 45, coring risk rises sharply.
- Count the punctures per septum. If you are exceeding 8 to 12 punctures on a single septum, you are operating outside the design envelope.
Decision table: matching septum and needle parameters to avoid coring
This table is a working reference. The numbers come from my own measurements and from supplier specification sheets. Use it as a starting point, not a substitute for your own validation.
| Parameter | Acceptable range | Coring risk if outside range |
|---|---|---|
| Needle gauge | 23 to 26 | Larger needles (22G and up) increase puncture force and coring risk on thin septa |
| Needle bevel angle | 12 to 17 degrees | Bevels above 20 degrees act as hole saws on soft elastomers |
| Guide bushing ID (23G needle) | 0.74 to 0.84 mm | Above 0.9 mm, needle wander exceeds 0.1 mm and crescent tears appear |
| Septum durometer | 50 to 55 Shore A | Below 45 Shore A, disc coring on first puncture with a burred needle |
| Septum total thickness | 1.0 to 1.5 mm | Below 0.8 mm, the needle can punch through the full thickness and core |
| PTFE facing thickness | 0.1 to 0.25 mm | Above 0.25 mm, the facing itself cores; below 0.1 mm, it tears and exposes elastomer |
| Cap-to-vial runout | 0.2 mm maximum | Above 0.2 mm, needle entry shifts off-center and edge tears occur |
| Punctures per septum | 8 to 12 at 23G | Beyond 12, elastomer fatigue leads to sliver formation even with a sharp needle |
Operational precautions: what to do before the next run
Do not wait for a failure. Implement these precautions now. First, log the needle guide bushing ID at every monthly PM. The bushing is a wear item, and its wear rate is predictable. If you see the ID growing by 0.02 mm per month, you know when it will hit the 0.9 mm failure threshold. Replace it before that.
Second, standardize on one septum specification for each needle gauge. Do not mix 45 Shore A and 55 Shore A septa in the same tray. The autosampler cannot tell the difference, and neither can the needle. I have seen labs mix lots because procurement bought whatever was cheapest that quarter. That is a false economy.
Third, validate every new septum lot with a 20-puncture coring test. Take 10 vials, cap them with the new lot, and run 20 punctures per vial using a sharp needle. Inspect the septum after each puncture under a 10x loupe. If you see any disc, crescent, or cylinder before puncture 12, reject the lot. The Thermo Fisher chromatography and sample handling documentation includes similar validation protocols. The Agilent chromatography consumables guides specify needle and septum compatibility by autosampler model. Use both.
Fourth, track your puncture counts. A simple log sheet on the autosampler tower works. When a septum hits 12 punctures, replace the cap. Do not push it. The septum is cheaper than a failed sequence.
Fifth, check the needle after every tray change. A 30-second visual inspection under a loupe catches burrs before they core 50 vials. I keep a loupe next to every autosampler. The Restek technical resources library has good reference images of needle damage. The PTFE membrane filter world uses the same inspection discipline for filter integrity. Apply it to needles.
Sixth, for environmental methods that follow U.S. EPA SW-846 test methods, document your septum lot and puncture count. Auditors look for this. A coring failure that contaminates a sample can invalidate a whole batch, and the documentation is your only defense.
What to demand from your vial supplier before the next purchase order
Stop buying vials and septa as commodities. Demand a specification sheet that includes the neck finish drawing, the cap thread tolerance, the septum durometer at operating temperature, the facing thickness, and the puncture count rating. If the supplier cannot provide all five, you are buying a coring problem.
Ask for a certificate of analysis for each septum lot. The COA should list the durometer, the total thickness, the facing thickness, and the lot number. If the COA lists only “conforms to specification,” ask for the actual numbers. A supplier that will not share numbers is hiding variability.
Run the 20-puncture coring test on every new lot before you put it into production. This takes 30 minutes and costs almost nothing. The alternative is a failed sequence at 3 a.m. with 50 vials of irreplaceable sample. I know which one I choose.
For GC work, verify the septum’s temperature rating at the injection port temperature, not at room temperature. A septum rated for 200 degrees Celsius may soften enough at 150 degrees to core under a 23-gauge needle. The supplier should provide durometer at 150 degrees Celsius if you ask.
The decision rule is simple: if the needle guide bushing is within 0.74 to 0.84 mm, the needle is sharp and straight, the septum is 50 to 55 Shore A with a 0.1 to 0.25 mm PTFE facing, and the cap runout is under 0.2 mm, you will not see coring. If any one of those is out of spec, you will. Fix the mechanical cause first, then the material. That order saves you time and money every single time.
References & further reading
Related resources from our lab consumables network:
- Vial Supplier at vialsupplier.com
- Lab Chromatography at labchromatography.com
- Hplc Filter at hplcfilters.com
- Ptfe Membrane Filter at ptfemembranefilter.com
External references and standards: